Useful Layers / Field guide
Choosing your first 3D printer: A1 mini, P1S, or Kobra S1?
Choose a printer for organizers, practical parts, props, decor or fine details. Illustrated examples connect each job to printer size, materials and accessories.
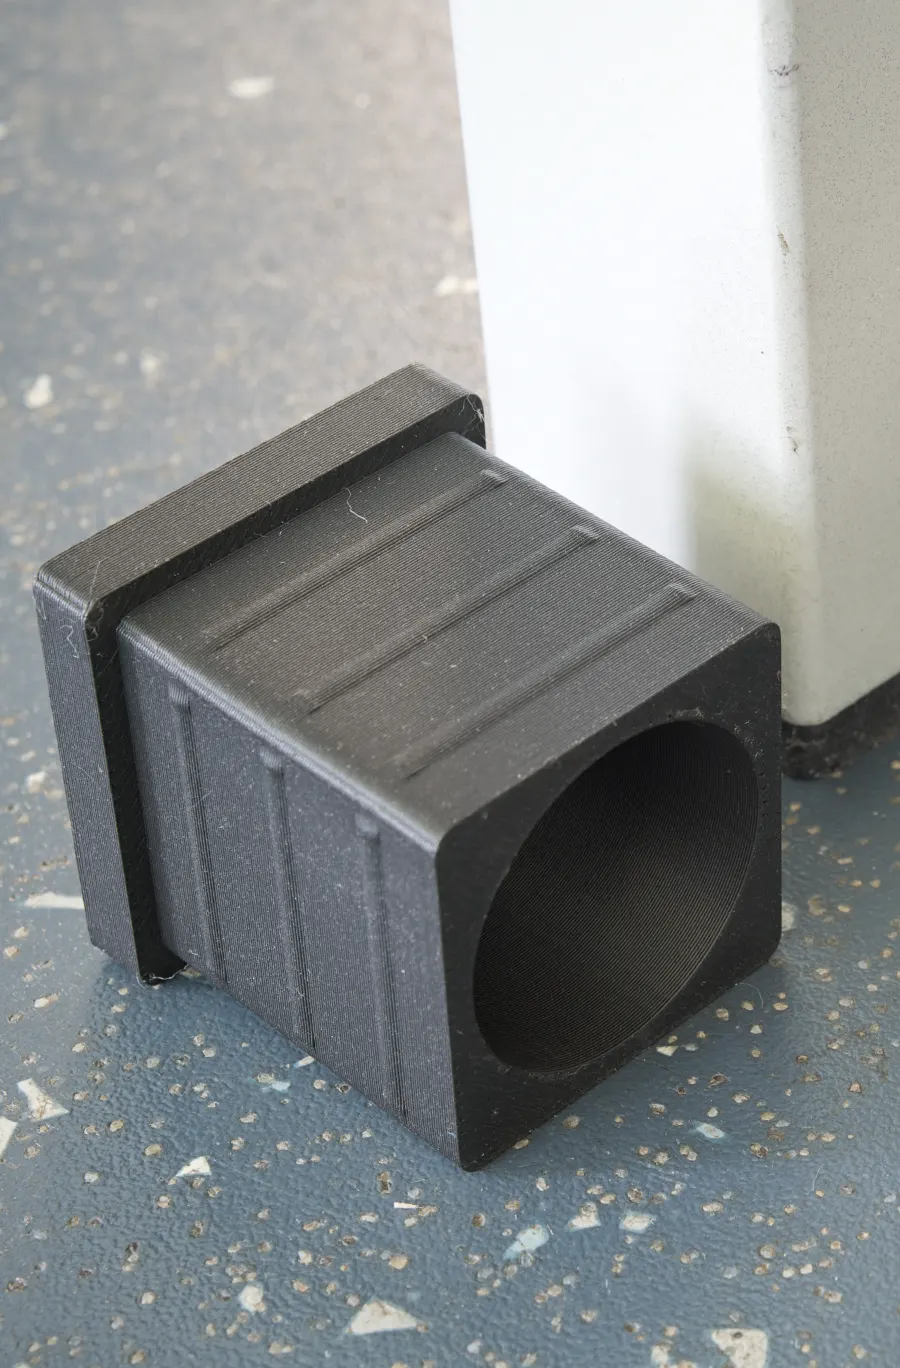

If your first projects are small PLA organizers and clips, the Bambu Lab A1 mini printer-only is the smallest and least expensive of these three dated US examples. If you need more print space or plan to follow the manufacturer’s settings for ABS or ASA, compare the two enclosed models, including the Bambu Lab P1S printer-only. If you already know you want automatic color changes, the Anycubic Enhanced Kobra S1 ACE 2 Pro Combo includes a four-spool handling unit in this configuration. The right choice depends on the actual printable part, material, room, and budget.
This is a comparison of manufacturer-documented capabilities, not a hands-on test. We have not measured print quality, noise, failure rates, support, or the time each machine takes to maintain. The store variants and documentation were checked for the US on October 1, 2026. Prices and stock can change; our separately dated starter-cost guide shows the exact example carts.
| Configuration | Nominal build volume | Enclosure and color equipment | Manufacturer-listed materials |
|---|---|---|---|
| A1 mini, printer-only | 180 × 180 × 180 mm | Open frame; no AMS lite in this variant | PLA, PETG, TPU and PVA listed as ideal in the quick start guide |
| P1S, printer-only | 256 × 256 × 256 mm advertised; Bambu's specification footnote says Bambu Studio defaults to 250 mm print height | Enclosed; no AMS in this variant | PLA, PETG, TPU, ABS, ASA, PVA and PET listed as ideal in the quick start guide |
| Enhanced Kobra S1 ACE 2 Pro Combo, 4 colors / no filament | 250 × 250 × 250 mm | Enclosed; one ACE 2 Pro included for up to four spools | PLA, PETG, TPU 95A, ABS and ASA in the product FAQ; TPU must feed directly into the printer, outside the ACE 2 Pro |
These are not feature-matched bundles. The Anycubic row includes its color-handling unit; the two Bambu rows do not. Bambu sells separate A1 mini and P1S combo variants with AMS hardware. Anycubic also sells an older Kobra S1 Combo with the first-generation ACE Pro; it is a different configuration from the ACE 2 Pro row above. Expanding the ACE 2 Pro system to more colors requires additional hardware; this bundle starts with four spool positions.
The September 29 historical check also reproduced the P1S height caveat from Bambu Studio’s pinned P1S 0.4 mm profile, which inherits the Bambu machine defaults, then the 250 mm base printable-height setting. This is the default slicer setting, not a claim that the machine cannot physically reach its advertised 256 mm height.
Start with the part you want to make
A nominal build volume is the maximum machine envelope, not a guarantee that a particular model will print. A one-piece drawer insert might not fit the A1 mini’s 180 mm bed. Check the printable part’s orientation and clearance in a slicer before buying. An assembled object can have several smaller printed pieces, while a photograph or overall product dimensions can conceal a single oversized part. Use the three starter carts to compare cost after checking those part requirements.
For small PLA or PETG projects, the A1 mini’s open frame and lower dated cart cost may be enough. The P1S and Kobra S1 offer larger nominal envelopes and enclosures. If ABS or ASA is a specific goal, both enclosed models list those materials, while the A1 mini guide does not recommend them. An enclosure or carbon filter is not evidence that room ventilation is unnecessary; check the material maker’s handling guidance and your room before printing those materials.
Choose by the job you want to do
Pick two or three projects you would actually make. A drawer tray, a costume panel and a tiny figure ask different things of a printer. These suggestions are our interpretation of documented capabilities. The dimensions below are hypothetical planning examples, not measured models, slicer approvals or successful prints. Photos show other makers’ work; they are not downloadable model files.
| Your job | Start your comparison with | What decides it | Useful accessory |
|---|---|---|---|
| Small organizers | A1 mini, printer-only | Actual part fits the 180 mm envelope | Ruler or calipers for the space it must fit |
| Practical parts | Any of the three, after checking size and material | Fit, load direction, heat exposure and material profile | Calipers and specified fasteners |
| Props | P1S printer-only or Enhanced Kobra S1 | Each piece and its supports fit; joining work is acceptable | Only required joining/finishing supplies |
| Decor | A1 mini for small pieces; larger models if needed | Actual diameter/height, use and wall design | Inner pot if the print is a decorative cover |
| Fine details | Compare model and nozzle options before bed size | Thin features survive slicing; support removal and time | Fine nozzle only for a defined detail problem |
| Multicolor signs | Color-equipped setups if automatic changes are needed | Assembly/painting versus repeated changes within a print | Compatible spooled colors |
Small organizers and desk parts
Planning example: a 140 × 90 × 35 mm drawer tray. Its bare dimensions sit inside all three nominal envelopes, making the A1 mini printer-only a reasonable starting comparison. A full-width drawer insert can be a different decision. Measure the drawer’s usable interior, including obstructions, rather than copying its outside width. Check orientation, brim and supports in the correct slicer profile.
Use plain spooled PLA for a simple indoor starter project when the model’s instructions support it. A ruler may suffice for a tray; calipers help with snug clips. Cart to check: A1 mini, printer-only. Check included tools before adding a kit.
Practical parts and replacements
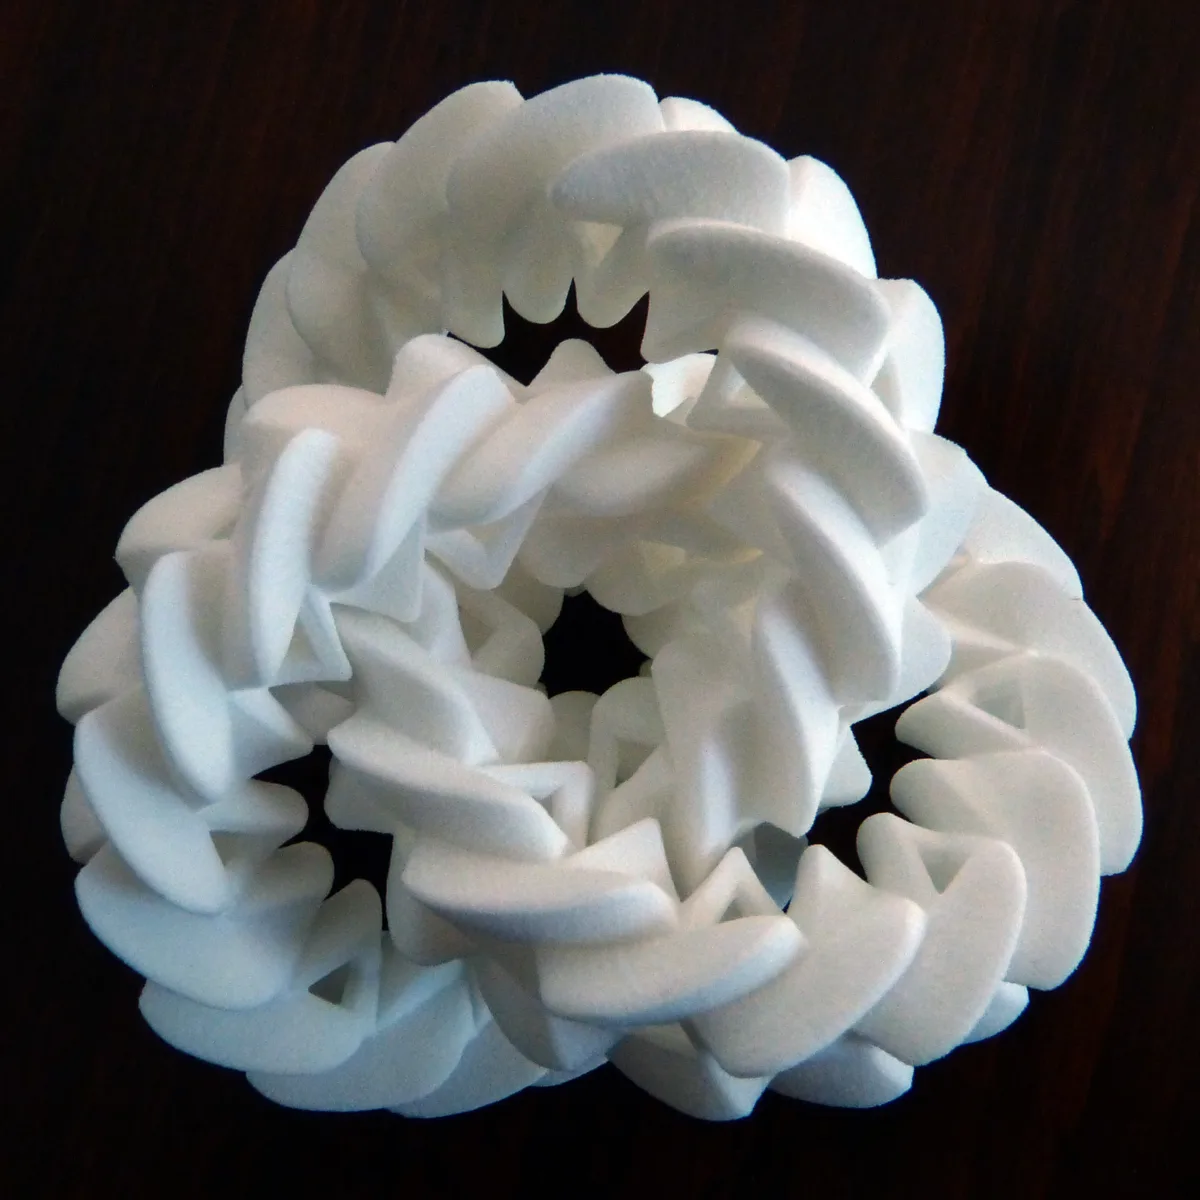

Planning example: a cable guide with a screw hole. Fit and load matter more than whether the printer is enclosed. Prusa identifies PETG as useful for holders and mechanical parts; that does not certify a particular design or rule out PLA for every practical object.
Check hole spacing, material, layer orientation and surrounding temperature. Begin with a low-consequence part and assess the actual result. This guide does not approve parts for safety-critical loads, electrical protection or hot appliances. Carbon-fiber filament introduces separate nozzle and extruder requirements; it is not a shortcut to a validated design.
Printer choice: compare the A1 mini if the part fits. For a larger one-piece part, check the P1S printer-only and the Enhanced Kobra selection below. This is a size/material decision, not a claim that one prints stronger parts.
Larger props and costume pieces
Planning example: a shell measuring 230 × 180 × 40 mm in its intended printing orientation. That orientation exceeds the A1 mini on one axis, but is inside the larger two nominal envelopes before supports and brim. Another orientation or a split design could change the decision. Neither larger printer guarantees that a whole helmet fits.
Choose a model supplied in manageable sections, or investigate cutting and joining. PrusaSlicer’s cut tool documents cuts and connectors; use the correct printer-maker profile to prepare and inspect the resulting pieces. Joining adds work. Budget for the model’s required fasteners, adhesive or finishing supplies.
Carts to check: P1S, printer-only or Enhanced Kobra S1 ACE 2 Pro Combo, 4 colors / no filament. If you will paint the prop, automatic color hardware may contribute little to this job. The Kobra selection includes it regardless.
Planters and decorative objects
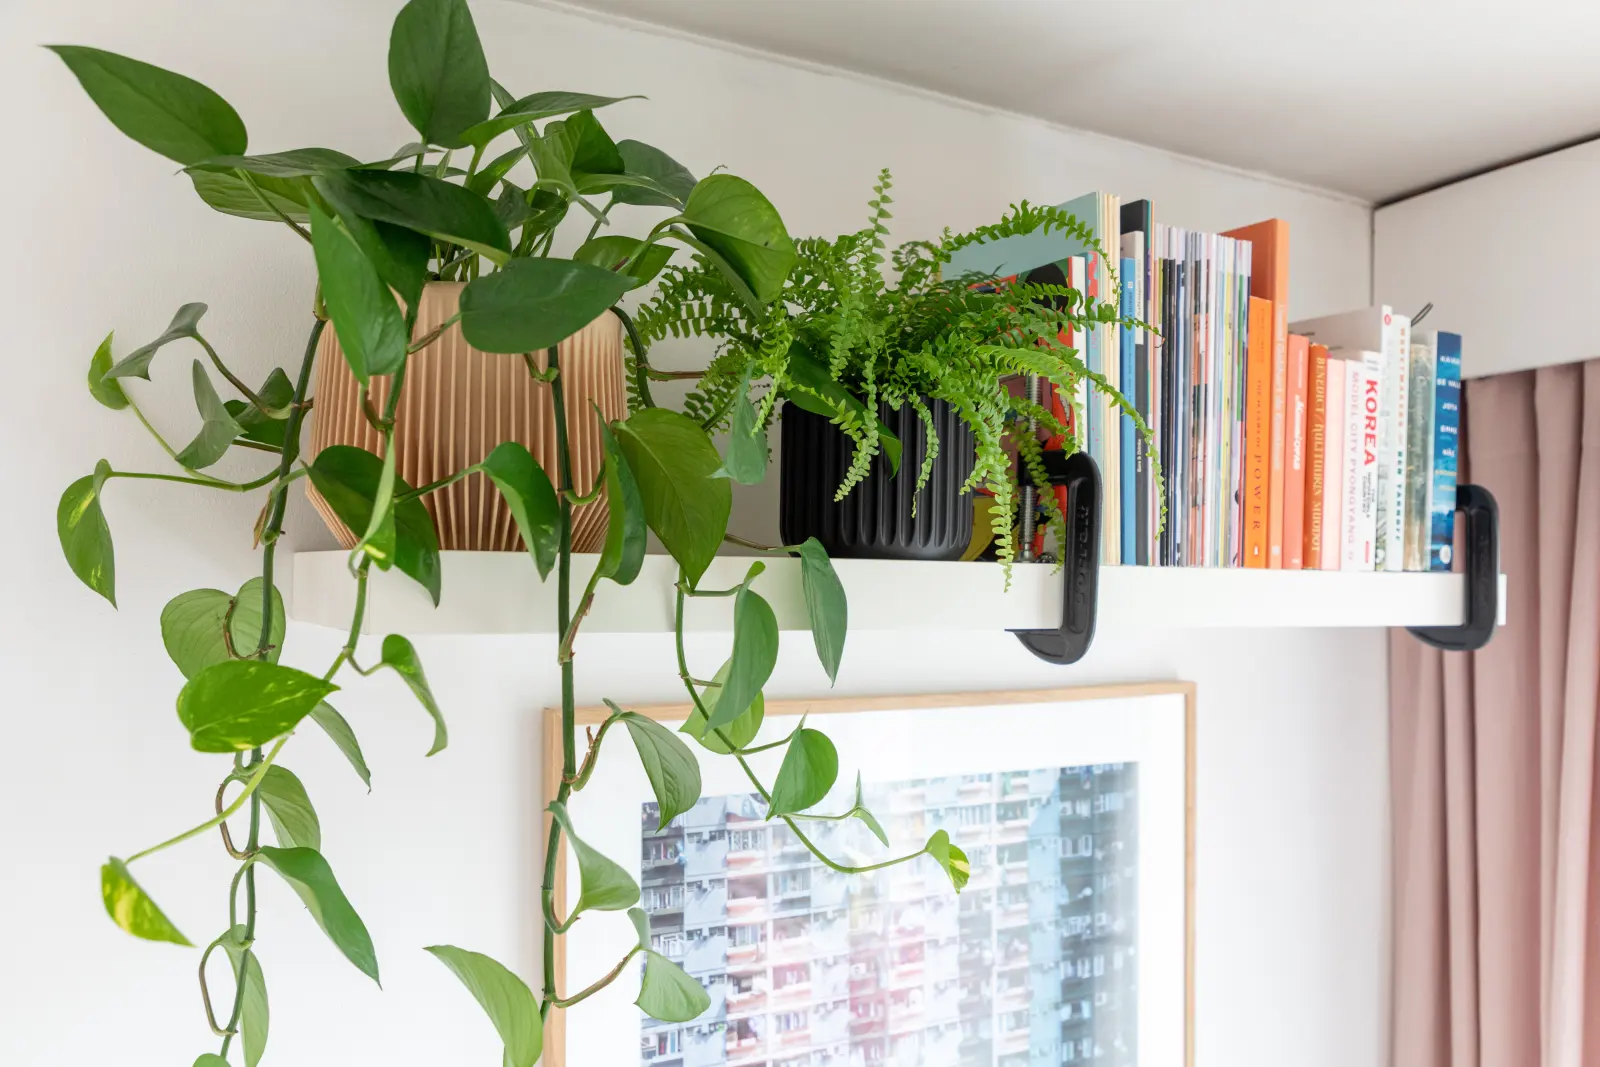

Planning example: an indoor pot cover 120 mm across and 140 mm tall, holding a separate inner pot. Its bare dimensions are within the A1 mini envelope; a taller cover or broad vase may warrant a larger bed. Measure the inner pot including its rim, and read the model’s wall/support instructions. A decorative print is not automatically a sealed water container.
Choose the material before choosing a fashionable finish. Start with the stock nozzle; a larger nozzle is an optional workflow decision, not a first-pot prerequisite.
Tiny details and tabletop models
Planning example: a 32 mm-tall figure or thin lettering on a nameplate. A larger bed does not itself resolve fine features. Inspect the sliced layers: do the letters remain, and can the supports be removed?
Prusa’s nozzle explainer describes the general tradeoff: smaller nozzles can help fine horizontal features, with slower printing. They do not improve every model equally. These examples are not measurements on our three printers.
Both Bambu models list a 0.2 mm option; the current Enhanced Kobra S1 lists 0.25 mm, not 0.2 mm. Match the hotend and slicer profile. Keep the stock 0.4 mm nozzle if it resolves your model. Bambu’s 0.2 mm FAQ warns about particle-filled abrasive filaments. Fine detail and abrasive-filament readiness are separate choices.
If detailed tabletop figures are your main goal, compare representative results from the exact workflow before choosing a filament machine. We do not rank resin printers or promise resin-like detail here. See compatible fine-nozzle choices.
Multicolor signs and gifts
.jpg)
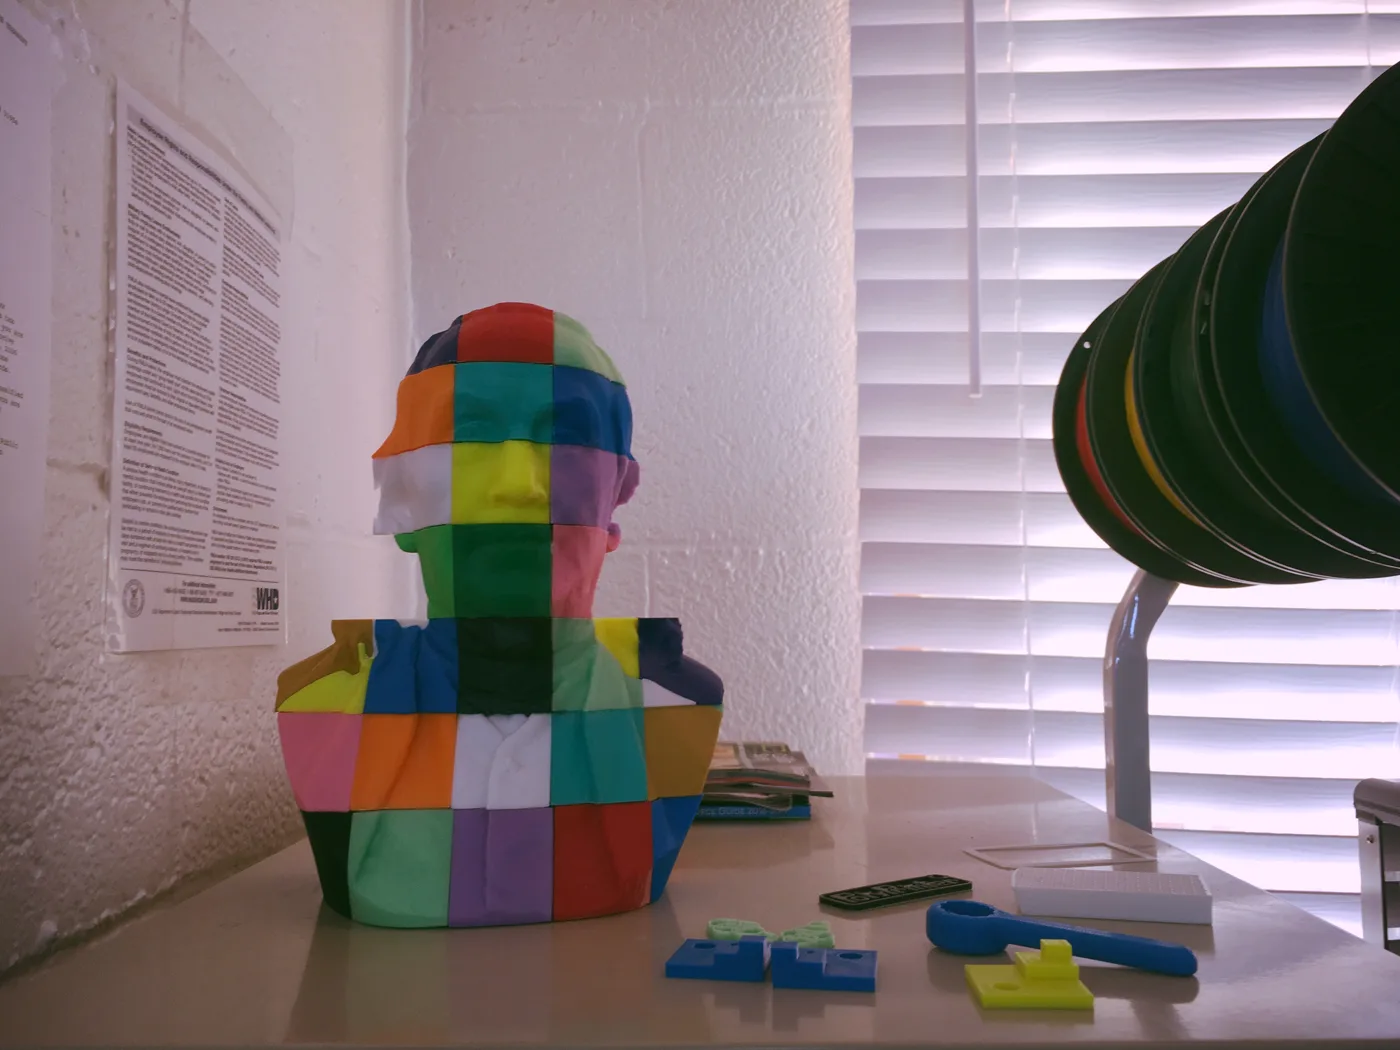
Planning example: a two-color desk nameplate. Separately printed letters and a base can be assembled without automatic color changes. Repeated changes within the layers ask a different question. Check instructions and the slicer’s filament estimate, including purge and any tower, before buying extra colors.
Automatic-color carts to check: A1 mini Combo with AMS lite, P1S AMS Combo, or Enhanced Kobra S1 ACE 2 Pro Combo. Compare the unequal bundles in five starter setups. More spool positions do not enlarge the bed.
For flexible bumpers or feet, check the exact feed path. Ordinary flexible TPU is restricted by the AMS lite FAQ; the Enhanced Kobra FAQ sends TPU 95A directly to the printer, bypassing ACE 2 Pro. Harder or specially qualified TPU can have different rules.
Before you buy: a five-minute project check
- Find the actual file. Read its license and print/assembly instructions. A photograph or assembled object’s size is not the printable-part size.
- Check each part in the correct profile. Inspect orientation, bed clearance, supports, brim and previewed layers. Record the largest piece and estimated filament including waste. This is planning, not proof of a successful print.
- Choose material and feed path. Match material/nozzle/plate requirements. Check spool versus refill and automatic-color restrictions.
- Measure operating space. Include the filament unit, spool, moving bed where applicable and service access. Compare the manuals with your location.
- Price the complete job. Reopen the selected US cart, add required material and missing accessories, then enter tax and shipping in the budget planner. Our dated examples are not today’s checkout quote.
Shopping links here are direct product links. No approved affiliate IDs or commission links are live yet. Source and photo links provide evidence rather than shopping recommendations.
What changes the day-to-day work?
All three product lines document automatic calibration or leveling features: the A1 mini advertises automatic calibration, the P1S includes automatic bed leveling, and the Enhanced Kobra S1 lists LeviQ 3.0 auto-leveling. These features reduce specific setup adjustments; they do not establish which printer is easier to own or eliminate bed cleaning, filament loading, failed prints, and maintenance.
Only pay for automatic color handling if your planned prints use it. A single-color bracket or organizer can be made without an AMS or ACE. The Enhanced Kobra bundle already includes the ACE 2 Pro; the A1 mini and P1S printer-only variants would need a different bundle or later compatible accessory for automatic spool switching. The Kobra product FAQ also specifies that flexible TPU 95A bypasses its ACE 2 Pro and prints in single-color direct-feed mode.
Allow for space and upkeep
Measure the whole operating setup, not only the advertised print volume. The Kobra S1 product specifications give a 400 × 410 × 490 mm printer body and a separate 368 × 291.5 × 236.5 mm ACE 2 Pro unit. Those are equipment dimensions, not a complete desk-clearance recommendation. Allow access for filament, moving parts, and routine service around any printer. Confirm the arrangement against the manuals and your actual shelf or desk.
Maintenance is part of ownership for all three. Bambu’s A1 mini instructions call for cleaning and lubricating the X, Y and Z rails about monthly and servicing the Z lead screw about every three months. Bambu’s P1-series instructions call for checking the X carbon rods for dust about monthly and lubricating the Z lead screws about every three months; do not grease the carbon rods. Anycubic’s Kobra S1 instructions include cleaning and greasing the Z-axis screws about every three months and inspecting the filament cutter after several rolls. Those Kobra S1 instructions do not establish the complete upkeep of the bundled ACE 2 Pro. Each schedule is a starting point from the maker, not a measured comparison of labor or reliability.
A practical choice
- Mostly small PLA/PETG parts and a lower initial bill? Start with the A1 mini printer-only, provided your actual parts fit its 180 mm bed.
- Larger parts or manufacturer-supported ABS/ASA? Compare both enclosed models against your part and room setup. The P1S printer-only avoids paying for a color unit you may not need; the Kobra bundle includes one.
- Automatic color changes from the start? Compare the Enhanced Kobra S1 ACE 2 Pro Combo as a bundle, and budget space for its separate ACE unit. Check the exact ACE 2 Pro variant at checkout.
Before purchasing, recheck the exact store variant, current price, package contents, replacement-part availability, and the size of your first printable model. The starter-cost guide gives a dated printer-plus-filament budget; it does not include tax, delivery, or the cost of unsuccessful prints.
Turn the choice into a cart
Compare the included color hardware in five starter setups, choose your first material, then enter your actual checkout amounts in the budget planner.
Sources
- Bambu Lab US A1 mini product — last checked: 2026-10-01
- Bambu Lab A1 mini quick start guide — last checked: 2026-10-01
- Bambu Lab A1 mini maintenance — last checked: 2026-10-01
- Bambu Lab US P1S product — last checked: 2026-10-01
- Historical pinned Bambu Studio profile reproduction, September 29 — last checked: 2026-09-29
- Bambu Lab P1S quick start guide — last checked: 2026-10-01
- Bambu Lab P1-series maintenance — last checked: 2026-10-01
- Anycubic US Kobra S1 ACE 2 Pro Combo — last checked: 2026-10-01
- Anycubic Kobra S1 maintenance — last checked: 2026-10-01
- Prusa PETG material guide — last checked: 2026-10-01
- PrusaSlicer cut tool and connectors — last checked: 2026-10-01
- Prusa nozzle diameter explainer; general tradeoffs, not tests of these printers — last checked: 2026-10-01
- Bambu fine-nozzle restrictions — last checked: 2026-10-01
- Bambu AMS lite material and spool compatibility — last checked: 2026-10-01